Recently, we discussed a lot about how images are helpful for user engagement. With one step ahead, today, we will discuss how to add GIFs to WordPress website. And the good news is that you can easily add gifs to WordPress using the editors.
Gifs have unquestionably established a new approach to communicating with the audience. They are not only visually stunning, but they also contain a lot of information.
However, creating and adding a gif to WordPress is not easy at all. The most common problem arises when the added gif is turned into a static image in the post instead of an animated gif.
In this article, I will try to address these issues along with how to add gifs to WordPress. Further, you can also read How to add featured images to WordPress website?
How To Create A Gif?
There is no direct way to create a gif in WordPress, I recommend using gif making tools like giphy or canvas (They both are collaborating now and you can use giphy on canvas!).
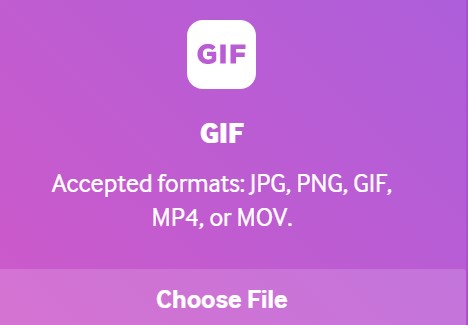
You just have to upload multiple images by selecting the requisite format (like jpg, png, jpeg, etc). Now manage and adjust the animation speed and frame orders and generate the gif.
The gifs can be resized with cropping tools and optimized by using various filters available. Do not download the “high-quality” gif and optimize it well for lower size otherwise, it will slow down the website.
I further recommend using compressing tools to shorten the size of the gif (and it is a must for site loading speed). Also, read How to make images load faster on a website?
How To Add GIFs To WordPress?
Adding gifs to a WordPress website is a pretty straightforward method and similar to inserting an image. Let me remind you adding gifs is easy but only if you add them properly as mentioned in the below steps.
I will discuss how to insert gifs in block editor and classic editor both. You have to insert and optimize the Gifs before it actually works on your post.
How To Add GIFs To WordPress In Classic Editor?
Make sure that you already have created a gif and saved it to your system before inserting it into your WordPress site. Following are the steps to add a gif to the WordPress:
1. Upload Gif To Media Library
Adding an image or gif is extremely easy with Classic editor.
- Open the particular post on which you want to add gifs and start editing.
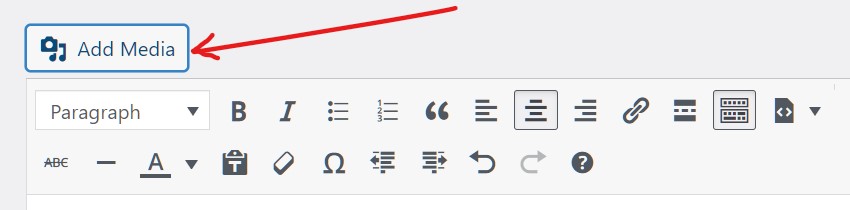
- Head to the top of the page and click on the Add Media button.
- Click on the upload files.
- Now upload your created and designed gif from your system’s memory.
- You can also select gifs from the media library (if you have used them earlier).
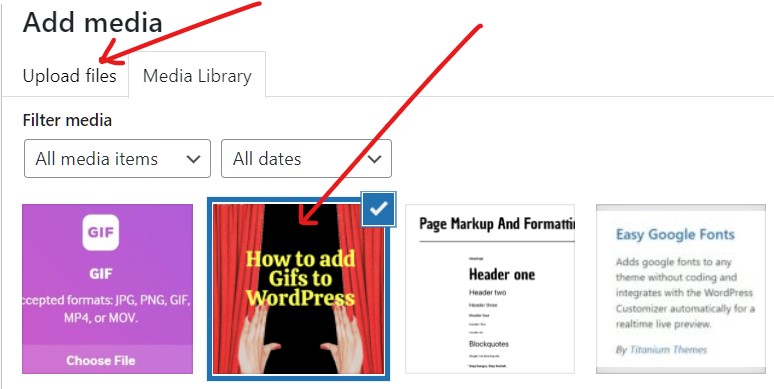
- A particular gif will be added to your right side; now move to the next step.
2. Edit Gif Settings And Insert Gif To WordPress Post
This is the most critical step in how to add gifs to WordPress website. Most of the users failed in this step which resulted in a static image instead of a gif.
WordPress by default set images in either large size or thumbnail size which can be modified easily.
- Once the image or uploaded to the right-hand side, scroll down the page.
- Look for Attachment Display Settings at the bottom-last of the page.
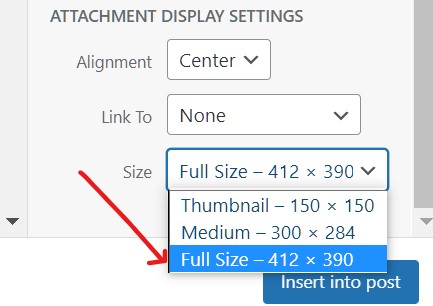
- In front of the size tab, select Full Size from the dropdown menu which is by default on the thumbnail.
- Once you selected full size, click on the Insert into post button and enjoy gifs.
The full size ensures that the inserted gif will display properly in the animation format. If it is a thumbnail or large size, the gif is only displayed as a simple image.
How To Add GIFs To WordPress In Block (Gutenberg) Editor?
Gutenberg was released as part of WordPress 5.0 in December 2018. It removes the default editing options from the toolbar. It makes the block editor more efficient but a bit complicated for new users. Let’s understand how to insert Gifs in block editor in WordPress.
1. Add An Image Block To The Post
I noticed that many users especially new users confused about how to add gifs to WordPress in block editor because there is no direct way to insert media files as in the classic editor.
- Open the WordPress post on which you have to add gifs.
- On the editor, click on the plus ➕ icon on the left top page.
- A search bar is open, type image on the typing box.
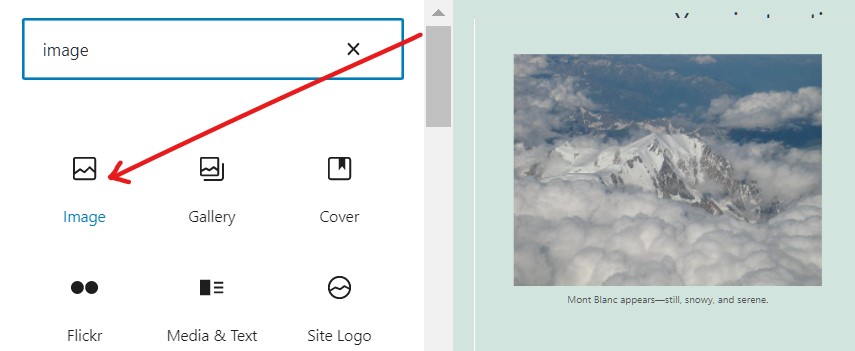
- Select 1st option “image” from the various options.
- Image block will be added to your current post.
2. Upload Gifs To WordPress
- Once the image block is added to the post, click on the upload button or media library if you already have a gif.
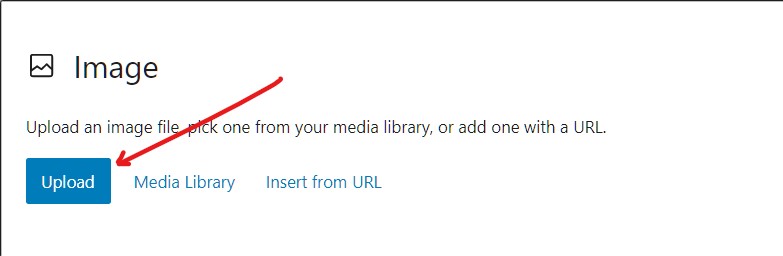
- Select the required gif from the system or media library and upload it.
3. Adjust Gif Settings And Upload Gif To Website
The uploaded gif automatically starts animation if the image size is by default ‘full size’ format. If the gif is added as a static image then follow the below steps to make it animated:
- Click on the uploaded gif or image.
- From the toolbar, click on the three dots at the right-most side.
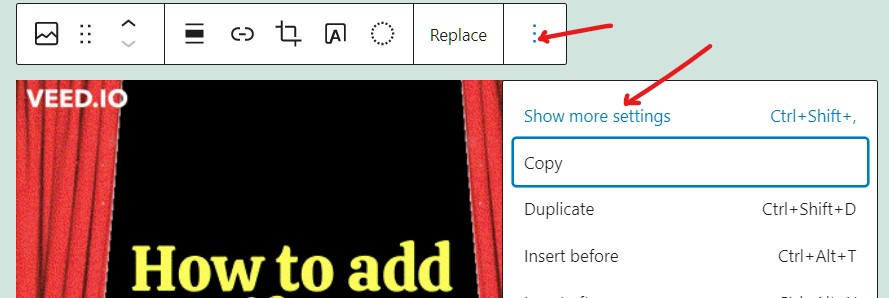
- Select and tap over show more settings from prompted options.
- A block column appears on your screen at the left sidebar.
- Scroll down the bar and look for image settings.
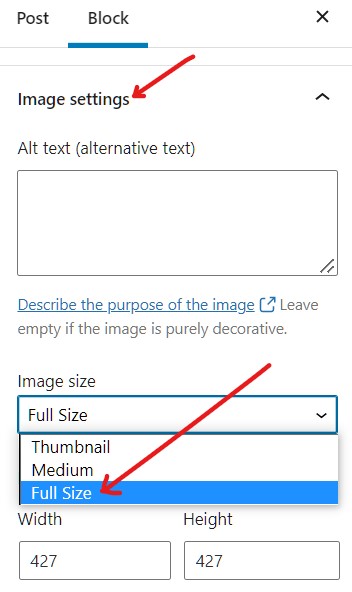
- Under image settings, you can see the image size option.
- Ensure that it is Full Size, if not then select full-size option.
That’s it. Now back to the post again. You can see the uploaded image is now in animation format. If it was selected as a thumbnail or medium size then it displays a gif as a static image.
Why are Gifs Not Working On WordPress?
Gifs not working on my website, what to do? This is the most common problem that most users complain about. To make the gifs work, select the full size of gifs when you upload them to WordPress.
Upload gifs, select a full size from the size option and insert gifs to WordPress post. Implementing this method ensures that uploaded gifs work properly. Never upload gifs in thumbnail or medium sizes.
Final Thoughts
It is all about how to add gifs to WordPress in block editor and classic editor. You can easily insert gifs to the website from WordPress’s inbuilt tools and don’t require any external tools.
I also don’t recommend using multiple gifs for a single post as they are usually in higher sizes and slow down the website. Also, always download or create optimal quality gifs, extreme quality gifs always have a large size.
However, you can use compressor like compressor.io to reduce sizes further. I hope you understand well how to add gifs to WordPress and comment below if there are any issues while inserting gifs to websites.